


MildSeven
-
Posts
836 -
Joined
-
Last visited
-
Feedback
100%
Content Type
Profiles
Articles
BMW 2002 and BMW Neue Klasse Wheels
Colors
Steering Wheels
Production Years
Models
Registry
BMW 2002 Vendors and Shops
BMW 2002 Books
The Hack Mechanic
Forums
Blogs
Gallery
Events
Store
Books
Community Map
Videos Directory
Everything posted by MildSeven
-

SOLD: (new) IE Performance Brake Booster Pivot Sleeve
MildSeven replied to MildSeven's topic in Miscellaneous
 Sold. Sorry to the others waiting in line... but there's always my pedal box kit
 -
electrical and ignition What's This Wire For?
MildSeven replied to Predominary's topic in BMW 2002 and other '02
in case anyone looks up this thread (as I did)... I'm adding a 'clearer' image from my disassembly -
 VDO Part # 150-077-022 Vision Series OIL PRESSURE GAUGE 2 1/16" 100PSI MECHANICAL, 12V CV Included: (new) VDO Gauge Stud Mounting Kits 600402 (installed, seen in photo 2, a $5.63 value ) The gauge face is in VERY good condition, why pay more for a new one? Summit Racing Part Number: VDO-150-077-002C - $36.02 $20usd + shipping from Montreal, Canada
 -
SOLD: (new) IE Performance Brake Booster Pivot Sleeve
MildSeven replied to MildSeven's topic in Miscellaneous
Hi, I haven't received your PM. -
Brand new still in packaging. VDO 6' Copper Tubing for Mechanical gauges http://www.summitracing.com/dom/parts/vdo-150856/overview/ UPC: 754059000602 Supply Line Type: Tubing Hose End 1: 1/8 in. NPT Hose End 1 Attachment: Female threads Hose End 2: 1/8 in. NPT Hose End 2 Attachment: Female threads Hose End Fitting Material: Brass Hose End Fitting Finish: Natural Tubing Diameter (in): 0.125 in. Tubing Material: Copper Tubing Finish: Natural Tubing Length (ft): 6.00 ft. Fittings Included: Yes, Includes one each: 1/8 - 27 NPT and 1/4 - 18 NPT adapters. Summit sells it for $19.64 I'm asking $12.99usd + shipping from Montreal, Canada
-
 As the title states, I have a new (un-bagged) pedal box kit ("Option 2," for the complete rebuild kit). Photo of actual kit, I'm selling: Description from IE site: IE sells the kit for $130. I'm asking $80usd + shipping from Montreal, Canada
 -
SOLD As the title states, I have a new (never un-bagged) performance brake booster pivot sleeve. Photo of actual item for sale: IE Description: This kit replaces the brake booster pivot's factory plastic sleeves with a billet aluminum sleeve, and two mini sealed bearings. Intended for left-hand drive 2002's. Includes: -Billet aluminum sleeve -Sealed roller bearings -Spacer washers -Bolt and Lock Nut -Pivot Pins and clips IE sells it for $50 I'm asking $35usd + shipping from Montreal, Canada
-
electrical and ignition Smog Wiring Delete
MildSeven replied to cbesing's topic in BMW 2002 and other '02
I was just looking in to the same question last night + today. Also with a '76. From what I've read, it depends on the coil you're using. I have red bosch and I need to re-add a resisted wire. I believe I had 2 wires which went to the fuse box (the photos i took of the disassembly aren't clear). I know 1 needs to be connected back to #12. I'm thinkin about putting the 2nd one back, even if it doesn't do anything to be safe :p. I have 2 which connect to the coil which were part of the smog wiring harness. the connector just right of 12 o'clock in the photo, and the connector just to the left of 6 o'clock. -
The cork V. Reinz gasket I bought was leaking (through bolt holes) following the install... I tightened to bolts slightly (about a month ago), seems to be okay now but I did follow the advice of others and ordered a paper gasket which I haven't yet installed. The motor is out of the car so I figure better safe than sorry before I put it back in. I ordered this one but have not installed it yet, it's MTC (as Steven suggested) but cheaper (especially for shipping to Canada). http://www.ebay.ca/itm/141913036900?_trksid=p2060353.m2749.l2649&ssPageName=STRK%3AMEBIDX%3AIT
-
I ordered that same linkage kit (but not from IE). I looked in to buying throttle brackets with the tab on the other side (the proper side), but I think they were like $11 a piece or something and being the cheap SOB that I am... I did the same as you. The motor still isn't back in yet, what's your plan for a throttle return spring? PS: I'm digging the wrinkle look.
-
worth a try, anyone have one for sale?
-
 still for sale, homies.
 -
The hood seals on each side, my car didn't come with them. BMW part #s 41615480195 & 41615480196 thanks, Anthony
-
I believe the part number is 51131830810 in good condition... like this: thanks, Anthony
-
cool beans!
-
ooooohhhhhh, the plot thickens
-
found!
-
BMW part # 32211113178 the one with the weird head for safety lock wire. EDIT: here's a photo: just fishing for the part to save a few bucks.... especially on shipping. thanks
-
i found this one too, says it's manufactured by "MTC" like what you posted but selling for less moulah. http://www.ebay.com/itm/141913036900?_trksid=p2060353.m2749.l2649&ssPageName=STRK%3AMEBIDX%3AIT
-
 Sold. thanks
 -
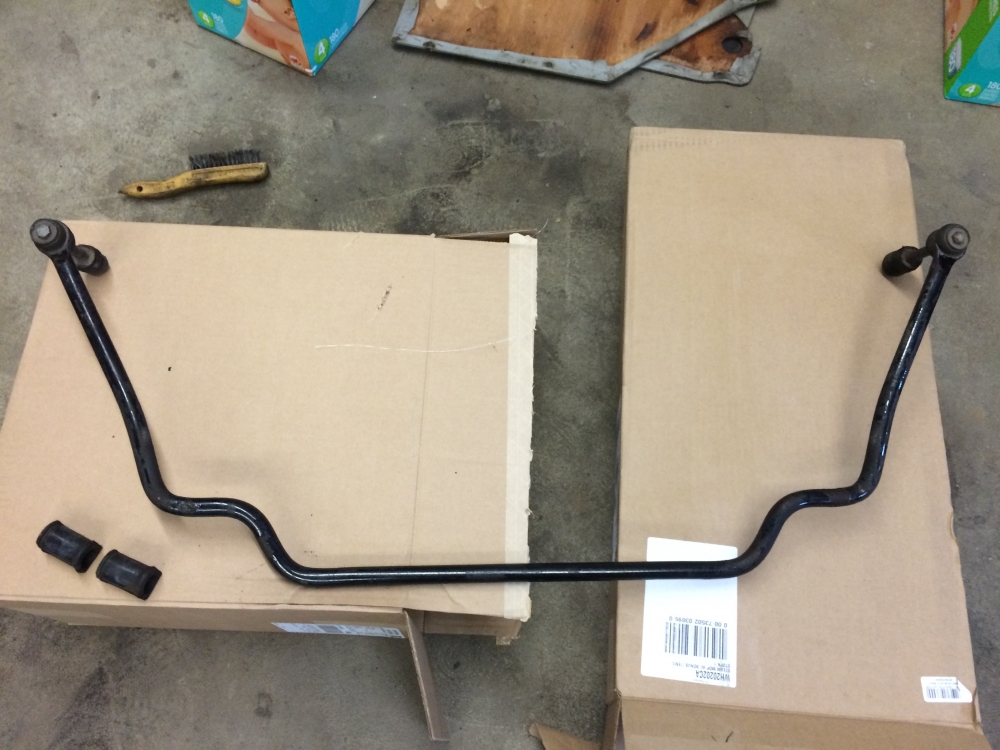
cleaned it up a little bit before packing it.
-
thanks, I'm getting a quote for someone located in Texas, but I doubt shipping will work out to be $25 or less to California. I priced the item lower to account for the high cost of shipping from Canada... so it will still reasonable for the buyer. EDIT: for the thickness, I'm not sure what the stock thickness is but I believe this is thicker from an old thread i found.
-
engine and drivetrain Engine drop/removal
MildSeven replied to NYNick's topic in BMW 2002 and other '02
I also dropped the motor/tranny + sub frame out the bottom. Easy peasy... (and if I'm saying that... it is, because i didn't have much experience before starting this (on-going) project) - Make sure everything is disconnected from the engine (& tranny) and remove anything which will give you more space to drop it (e.g. radiator). - Place some chocs behind the rear wheels. - Jack front up a little... use extra jack with wood (or ATV jack if you have) to support the sub frame. I also used a candle stick to hold the transmission (and would lower it as the motor was lowered. o You should be 2 people, we were 2 but 3 would be better. o We had 2 jacks, 1 to raise car, 1 to support sub frame/engine/tranny. o 3 candle sticks or other support. - Support the sub frame/engine/tranny in the center of the subframe with 1 jack (which has wheels) o Assuming everything else is disconnected, undo the remaining 6 bolt which secure the sub frame to the chassis. o The subframe / engine / tranny will now be resting on the jack. - Use the other jack to raise the car (on one side at a time, using the candle sticks to support each time) - Do this slowly watch that the motor is clearing everything and that you didn't forget anything connected (like I did with the pedal box throttle cable + reverse light wires). - You should also be able to drop the sub frame/motor/tranny with the jack which was holding the subframe up - Once you have the clearance to roll the motor out the front on the jack, do it. I have a lot of photos in my flicker account... I used some leftover 2x4s to make the frame support using the 6 sub frame bolts. (they connect across the middle) -
 sold.
sold. -
price drop $25usd plus shipping.


