After searching for months and resigning I’d have to buy new and pay for installation, I managed to find a local guy selling a four post lift for a great price. Rather than disassemble it, I had a hauling company pick it up at his house and drop it off in my driveway.
Working with Brian Kinports out of FL to replicate his gas strut mounts for the trunk and hood. He was kind enough to put together measurements and a prototype kit and send it my way to see how it all worked. I’m happy to report the fit is great
I had to borrow a rivnut tool from a friend, but it went together easily. I may end up putting on some stronger struts for the trunk so that when I press my trunk release button it raises under its own power without needing a nudge up.
Following the guidelines in a recent forum post, I decided to jump on the ATC fuse block upgrade train.
Thing you need: Fuse Box at Amazon
Adapter File from https://www.thingiverse.com/
Or get it from here:
ATO_ATC_Fuse_Box_Adapter.zip
Wiring Diagram:
wiring.pdf
So, while the Vintage itself was a blast, the trip also served as a multi day shakedown cruise of the car. Discovered a handful of issues that need to be addressed:
Swap bowden cables on left - controlling opposite, no real impact
Bowden cable to heater valve - off? Certainly doesn’t open the valve
Heater valve- leaking, need to look into that
Why am I running so damn hot? Does fan turn on with engine running? Do I need a New water pump? Might as
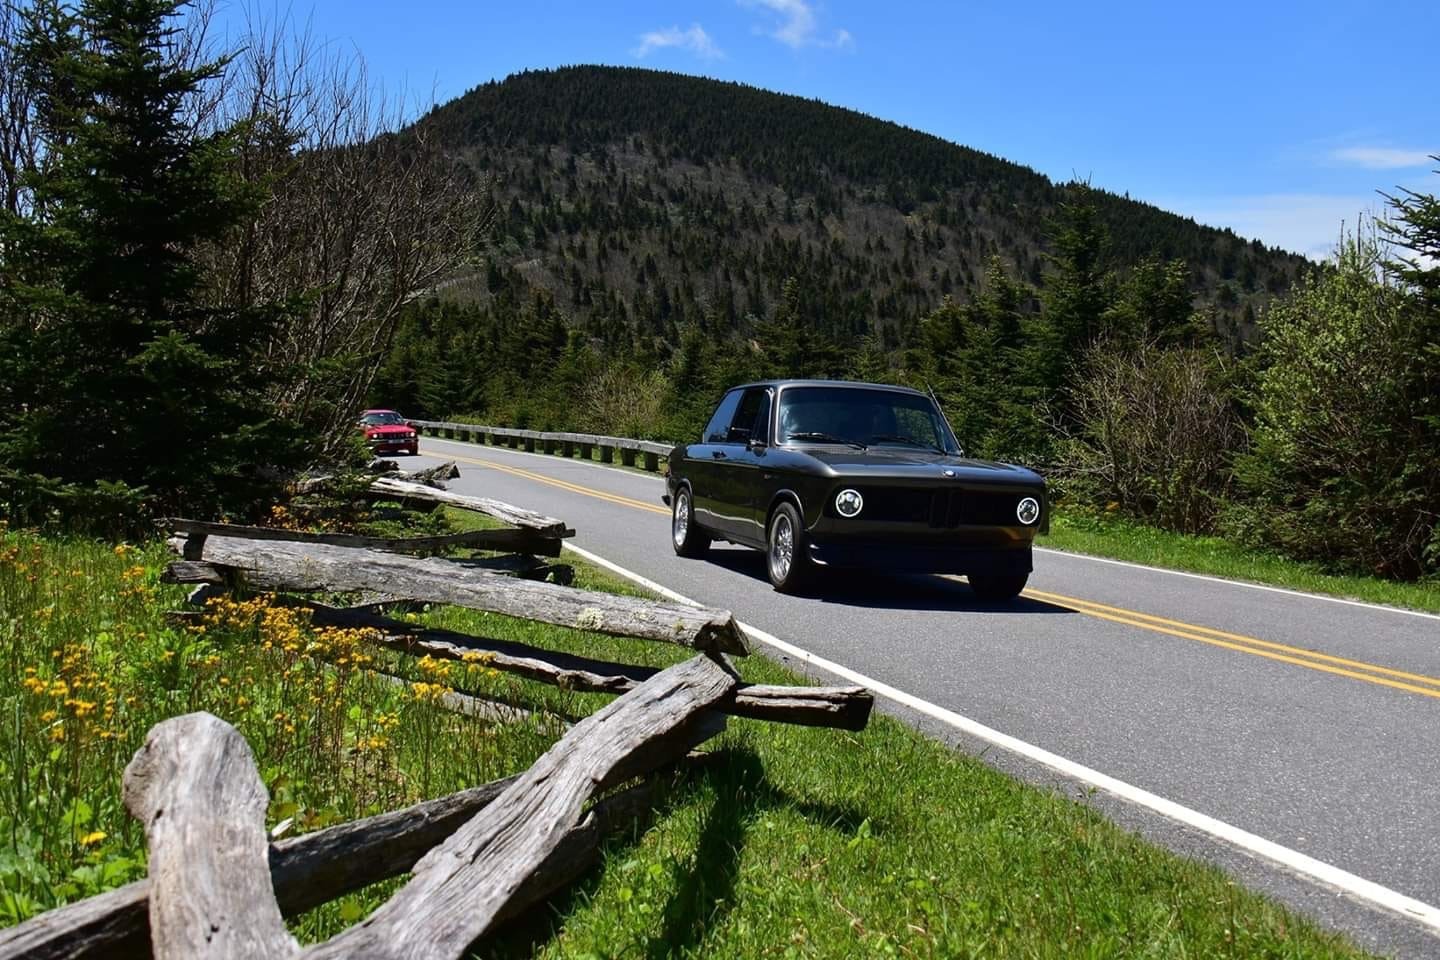
The Vintage 2019 was awesome. So glad we came to this wonderful event. Enjoy the picture dump, next post will be a run down of all of the issues I discovered on the extended shake down cruise.
got Around to fiddling with the RestoMod Air mock up box and it doesn’t look like it’ll work. The box is just a bit too tall - I can get it into the right spot but it’s too close to the metal support of the dash to actually hook up any supply lines.
Time to finally get around to refitting the heater core and controls. I’ve certainly put that off long enough.
Had some free time this afternoon to finally get a detailed mocking of the center console panel done. Need to remember to move the cutout for the switch panel up an 1/8 of an inch when I eventually get around to cutting everything up.
Been thinking of going down the AC route for some time. Bought the HobieDave bracket and have it sitting on the shelf.
As far as systems go - I'm looking towards the RestoMod AIr Bantam II Ultra Compact system ; https://www.restomodair.com/shopproducts/bantam-ii-ultra-compact-custom-air-conditioning-system/
As luck would have it, you can buy/rent a mock-up box to test fit. Just sent in my payment and once it arrives I'll have 30 days to see if it'll work. More to follow.
Finally got a chance to get back to things now that I think I'm going to commit to the Vintage in May. Cleared out all of the things I had in the trunk and laid it all out on my dining room table to get a good sense of what still needs to be done.
Also took a good half hour or so to start grinding out the cracks in the dash. Still not sure of the method of filling them yet but the expanding foam/epoxy route may be the way to go since the dash is getting a new leather cover when its a
Received the pump yesterday from Blunt as well as a new filter off of amazon. Took some time this morning to replace it. Longest part was scraping off the old gasket.
Started the car up for the first time in what seems like forever today. Was gonna get everything ready to go get the new wheels mounted tomorrow. Car runs surprisingly good, some slight hesitation here and there but seemed to die off after everything warmed up.
Theres a small coolant leak that I have yet to figure out the source.
Big issue though is a leaking fuel pump. Both inlet and outlets seem dry but there is a noticeable leak coming from the bottom side of the cas
I had lofty aspirations of nearly two weeks of effort that could be made on the car while I was hope between exercises. Then hurricane season finally got word that it was in fact, hurricane season.
https://www.wavy.com/news/local-news/norfolk/us-fleet-forces-prepares-to-move-out-for-hurricane-florence/1427422328
See you in a few weeks, I hope.
Not much of an update. Ship schedule is still nuts (I’ll be out to sea for 6 of the next 8 weeks), but we did finally get the new house set up.
Got the garage cleared out to the point where I could get the car out of the storage unit.
Its nice to have her home.
Home for about a week before another month long underway.
Still workjng on the heater core update (need to figure out why my defrost flaps are hard to open/close). So I bought a 5/8 brace barbed splice and bypassed the heater core so I could finally get around to starting the car up to test the gauges.
After some quick programming of the tach (and verifying measurements against my 123app) everything was looking good. Oil pressure was high to start but decreased over tim
Since I’ll be out to sea for more or less the next 10 weeks, I took the opportunity this weekend to knock out a bunch of projects on the interior:
cleaned up the wiring under the dash
ran the new sensors sensors for the gauges
more or less got the gauge wiring done
wired up the power and windows to the new switch panel
cleaned up under the back bench
cleaned up and required a bit of the aux fuse panel
trimmed the trunk boards so they fit flush
fit
Wrapped up a full heater box rebuild to include making new bowden cables.
Core was pressure tested and came back great. Replaced all the seals, installed a new plastic fan, fixed all the broken plastic, added a new valve bracket, re-riveted all the holes.
Got to the end and had the square bit of the valve break off when I went to attach the new valve arm.
Son. Of. A. B...
Finally sketched out the work plan to get the car done. Seats and door cards are on hold as they're not necessary to get the car moving again. With the console, gauges, and dash torn out, there is plenty to keep me busy. Gray is complete. Everything else is color coded by like/linked things.
DASH
remove
repair
AFR mount
recover
reinstall
Finally got around to pulling out the cluster and replacing everything with a set of SpeedHut gauges. Plan is to also install a AFR pod to the left of the cluster in the cubby spot on the dash and run a set of wires down to the analog clock/switch panel for lighting control.
Still need to work on wiring up everything, but that’ll involve buying a molex connector which I don’t have.
Good news is all of this only took one blood sacrifice.
Took some more measurements and mocked everything up in cardboard this time.
The switch panel came in so it gave me an opportunity to verify everything is going to fit. A couple of leds on the panel didn’t want to cooperate so the company is going to send me a replacement.
If I get time this weekend I will probably try my first attempt at making the face plate out of the fiberboard I got.
Still need to buy the head unit I want, plus wire everything up.
Decided to make some new side panels as the original ones had fallen apart completely. All in all not a bad project- I even got to play with nearly all my tools: jigsaw, orbital sander, drill press, rotozip, router.
Picking up the car today - touch up work from the Restoration is complete, new strut mounts are in, steering box has new seals, doors have been worked to take the IE aluminum panels. More importantly the custom exhaust is installed.
Beginning to sketch out some ideas for the center console project.
I want a double DIN radio. At least I think I do. I’ve also got the E36 clock/cubby and have finally sourced an illuminated switch panel I can use with toggle switches.
Fitment will be tight, but I think it’ll work.
Finally got around to installing Cal’s trunk opener and light kit.
First things first - Cal, you have made a hell of a kit. From the packaging to the instructions, this thing is top quality.
Installing is incredibly straight forward. Definitely take the time to clean your old latch system. I spent a few days soaking it in degreaser, carb cleaner, and then wire brushing it. A bit of lithium grease at the back end should keep it in great working order.
Ininst