
Disassembly

Entry posted by JQ02 in Disassembly
1,542 views
From 10' this does not look like a car in need of disassembly, blasting, and repainting. Looking back, I'm still questioning my sanity. With ~ 80% of the disassembly complete, I'm very glad that I'm doing it!
Feel free to comment or DM me if you have any questions. I'll be happy to share additional pictures and share anything I learned on the way.
Dec 16, 2023

Rolling the fenders
(and found some bondo on the right rear ![]() )
)
1/2/24

And not sure how I missed this one I bought the car (although having flown to Boston to drive it home, I'd prolly have still bought it) The passenger floor was replaced, but generally, the car still seems very solid)

Disassembly started. I'm really liking the QuickJacks
1/7/24

Debating filling in side markers
1/11/24

Beltline removal terrible, but not fun
1/11/2024

Interior removal started
1/11/24

1/12/24

Door cards bright covering of rain gutter (terrifying!)
1/21/24

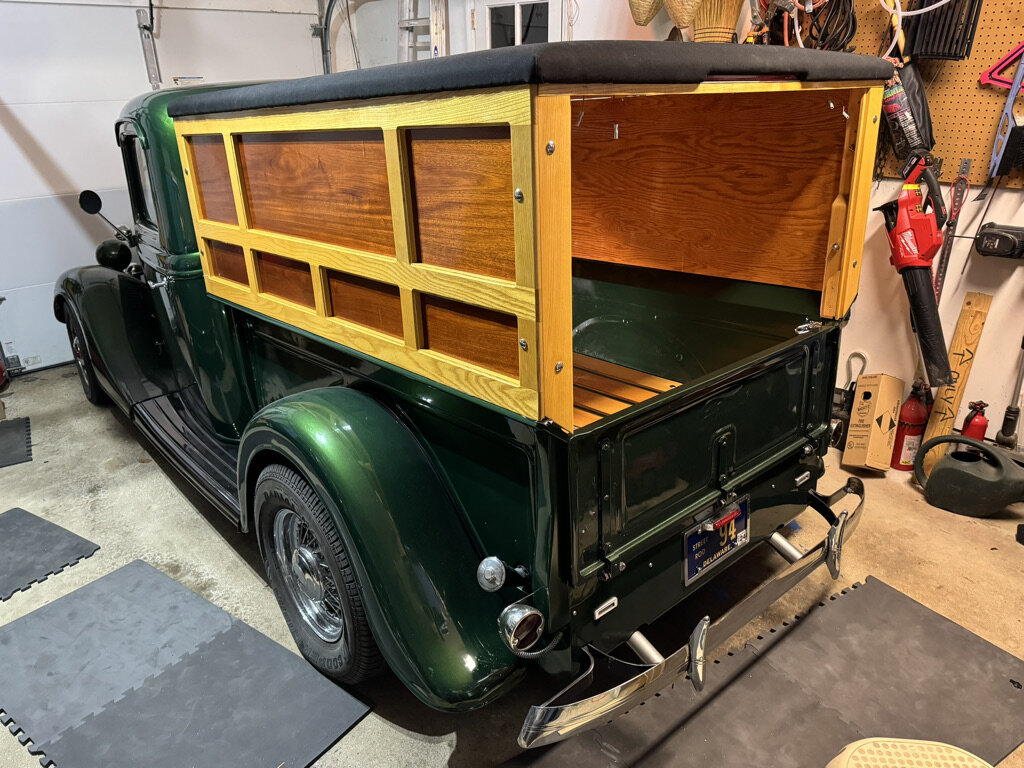
2 week sidetrack (I needed the room in the garage) to assemble woody cap that my stepfather had created 20 years ago, but didn't complete before he left us. Amazing craftsmanship!
1/27/24


Pulled the wiring harness out of the trunk and up to dash. Removed the last of the carpet and the cardboard underlayment. Need to tackle the sound deadening now that I've decided to blast the whole car. Found some unwelcomed rust:(
2/22/24


Getting ready to take the engine out!
Removed the battery, headlights. Started on underhood wiring harness removal.
Unbolted exhaust manifold! Never easy. Never fun. 6 of 8 studs came out instead of nuts. I've had worse, but it was still an hour fight.
Also applied Citristrip Gel to the trunk and wrapped it in saran wrap. Fingers crossed
2/23/24


Drained the fluids, removed the intake, starter, and head.
I used my milwaukee shop vac in reverse to evacuate the radiator and block. That worked pretty well!
Citristrip seems to be doing its job. I scraped an area with a plastic paint scraper.
I'm so looking forward to a clean uniform color engine bay!
2/24/24


Engine is out
2/25/24

Removed front fenders, headlight buckets, heater box, hood latch rod and parts.
3/2/24


Engine disassembled (leaving crank in for machinist). #4's had a broken piston ring
Brake booster out
3/4/24


Corded impact wrench zipped that pulley nut right off!

Working my way through wiring harness removal
Removed pedal box
Quite the rodent nest on the frame rail next to the pedal box!
3/8/24


Finally got the wiring harness out of the car!
The trick was finagling the fuse box arrays through the hole into the passenger compartment and disconnecting the ignition wires and taking that bottom hole harness into the engine compartment.
Scraped off most of the firewall insulation
Removed the gas tank and found a big rust hole ![]()
Remove the driveshaft
Mostly removed the exhaust
Used Citristrip to remove paint from right rear quarter and found bondo. Was pleasantly suprised that @BLUNT stocked the rear quarter patch panel and shipped it the same day I found the issue!!
3/9/24


3/22
Used 2 ratchet straps and a couple pipe wrenches to pull apart the exhaust. It's fairly new. I'll prolly keep the resonator and get a less restrictive muffler.
Removed some of the last bits still on the car (trans brackets, trim clips, washer sprayer nozzles, A and C pillar foam

3/23
Boxed up most of the parts to store 'til post paint (will recondition a lot of them while waiting)
The rest of the paint on the trunk lid pretty much fell off. Leaving Citristrip on for almost 3 weeks didn't seem to bother the primer, but made the paint supersoft.


3/26
Started taking up the sound deadener with a multitool
Removed the battery try. Ground down the welds / near the welds with a cutoff wheel so pretty much took it off in one piece


Haven't updated in a bit.
5/1
Designed an under seat battery box and had if fabbed by sendcutsend.com

5/2
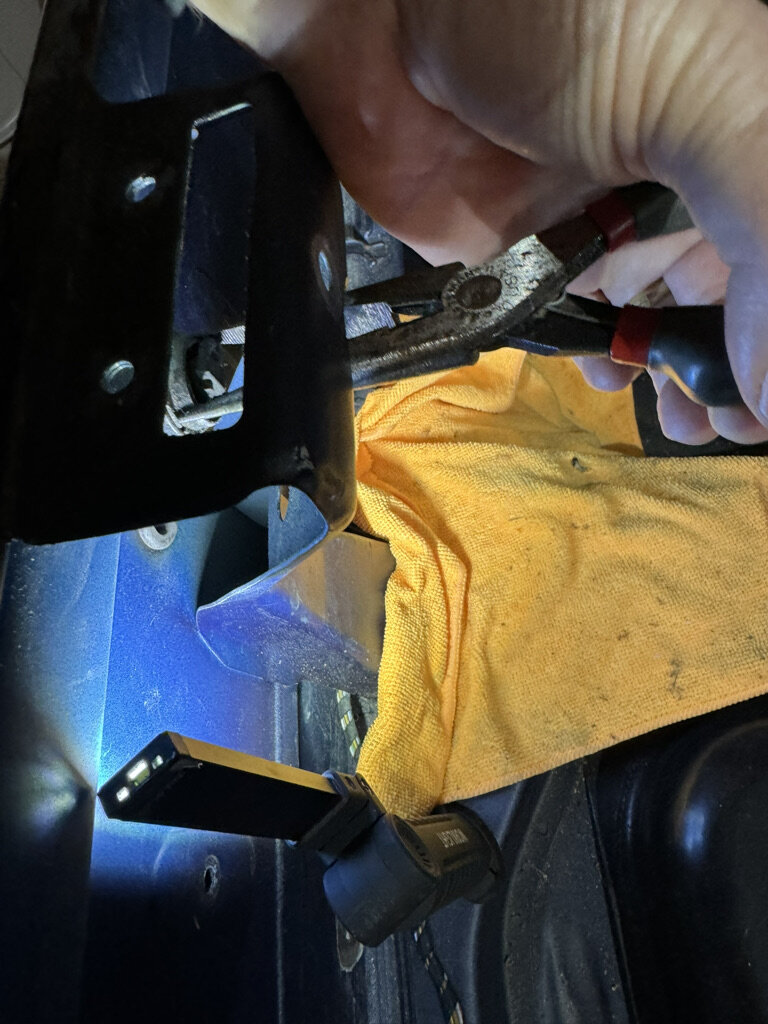
The nuts and bolts of the rear brake lines are completely seized, including the nut that's welded to the floor under the seat that holds the tee - which has more air surrounding it than it's supposed to ![]()


Ground off the paint and found that the bond is not as bad as I thought - and it was just as skim coat over a sketchy welded patch. I have repair panels to replace the area with.
Edited by JQ02
added pics for 3/8,9 progress
-
 3
3

6 Comments
Recommended Comments
Create an account or sign in to comment
You need to be a member in order to leave a comment
Create an account
Sign up for a new account in our community. It's easy!
Register a new accountSign in
Already have an account? Sign in here.
Sign In Now