
Before I dropped my front subframe, I searched the site for articles that provided the details on how to do this. There were a lot of bullet pointed lists, one or two chronicles and a few older articles that no longer had working images or links. Althought the process is pretty straightforward, it is always helpful to have a little detail, so here is my attempt to provide it.
Since I'm working solo on this car, I am breaking things down into one-person jobs. I already have my engine and transmission out, so this guide concentrates solely on dropping the subframe by itself. If you are dropping transmission, engine and subframe as one unit, you will need to disconnect a lot more pieces and the whole package will weigh, what, about 525 lbs? The subframe by itself with the steering box attached weighs about 90-100 lbs. It is not difficult to deal with, but you can't just let it drop either.
You will need 11mm, 12mm, 14mm and 17mm wrenches and sockets, a breaker bar, a large flathead screwdriver to use as a wedge (or an actual wedge), a large pair of channel-locks to turn turn the screwdriver if using it as a wedge, some paper towels (for wiping brake fluid), some baggies for your parts and (2) 2-3 foot long bungee cords (for the struts). I also recommend getting a furniture dolly from Harbor Freight so you can set the subframe on it to move it around more easily. Oh, and a box of gloves.
Here are the steps involved along with some images.
I am assuming the battery is out or disconnected.
Jack the car up and put it on jackstands. You can either use the jacking mountpoints or in my case I used the inner body frame members because I already had the car jacked up using those.
Remove the wheels.
Put the key in the ignition and turn it to acc to release the steering column lock. You will need this to rotate the steering shaft coupling. .
With 2 13mm wrenches, loosen up the steering coupling joint and remove the top and bottom clamp bolts. (There is a groove in the splines so you have to remove them completely. Don't forget to bag and tag them.) With a wedge or large screwdriver, loosen up the joint and slide it up onto the steering column shaft. This took a little work but I was able to do it by torqueing a large screwdriver with a pair of channel-locks. The coupling must be up above and completley clear of the steering box. Out-of-focus in progress and in-focus after completion images below.


Next, disconnect the brake lines from the front struts using 11mm or 7/16 and 14mm wrenches. I chose to do disconnet the flex lines from the rigid lines on the struts. You will need to drain your brake lines if your brake system is intact. Mine was already partially broken down. Be prepared for brake fluid in any case. Oh, and be sure to save the connector pieces (two little pieces of spring steel) that will end up being loose.

Once you get the brake lines disconnected, take the bungee cords, wrap them around the struts and secure them to the suspension on the subframe underneath. This will prevent them from dropping against the fender when they come free of the strut tower later.

Next, with a 12mm socket, remove the bolts on top of the strut towers. They will not fall through (yet) and you do not need a spring compressor. Bag the bolts and washers.

OK, now we get to the fun part! There are only 6 bolts holding this whole thing on and they are only about 18 inches apart on each side along the bottom of the frame rail. These require a 17mm socket and will probably require the breaker bar to loosen, although once loosened, mine came out very easily.

I suggest that you initially remove the front and back bolts and just loosen the middle one on each side. Note that the front bolt is longer. There also isn't a lot of clearance to get a socket onto the rear bolt.

With that one bolt still attached on each side, place your floor jack against the crossmember slightly off center a little closer to the steering box. It might not matter, but I did this in an effort to maintain balance. Jack it up snug and orient it so you can hold one of the struts as you are lowering it. Now remove the last two bolts and slowly lower the whole assembly to the ground. Don't forget to bag and tag the bolts.

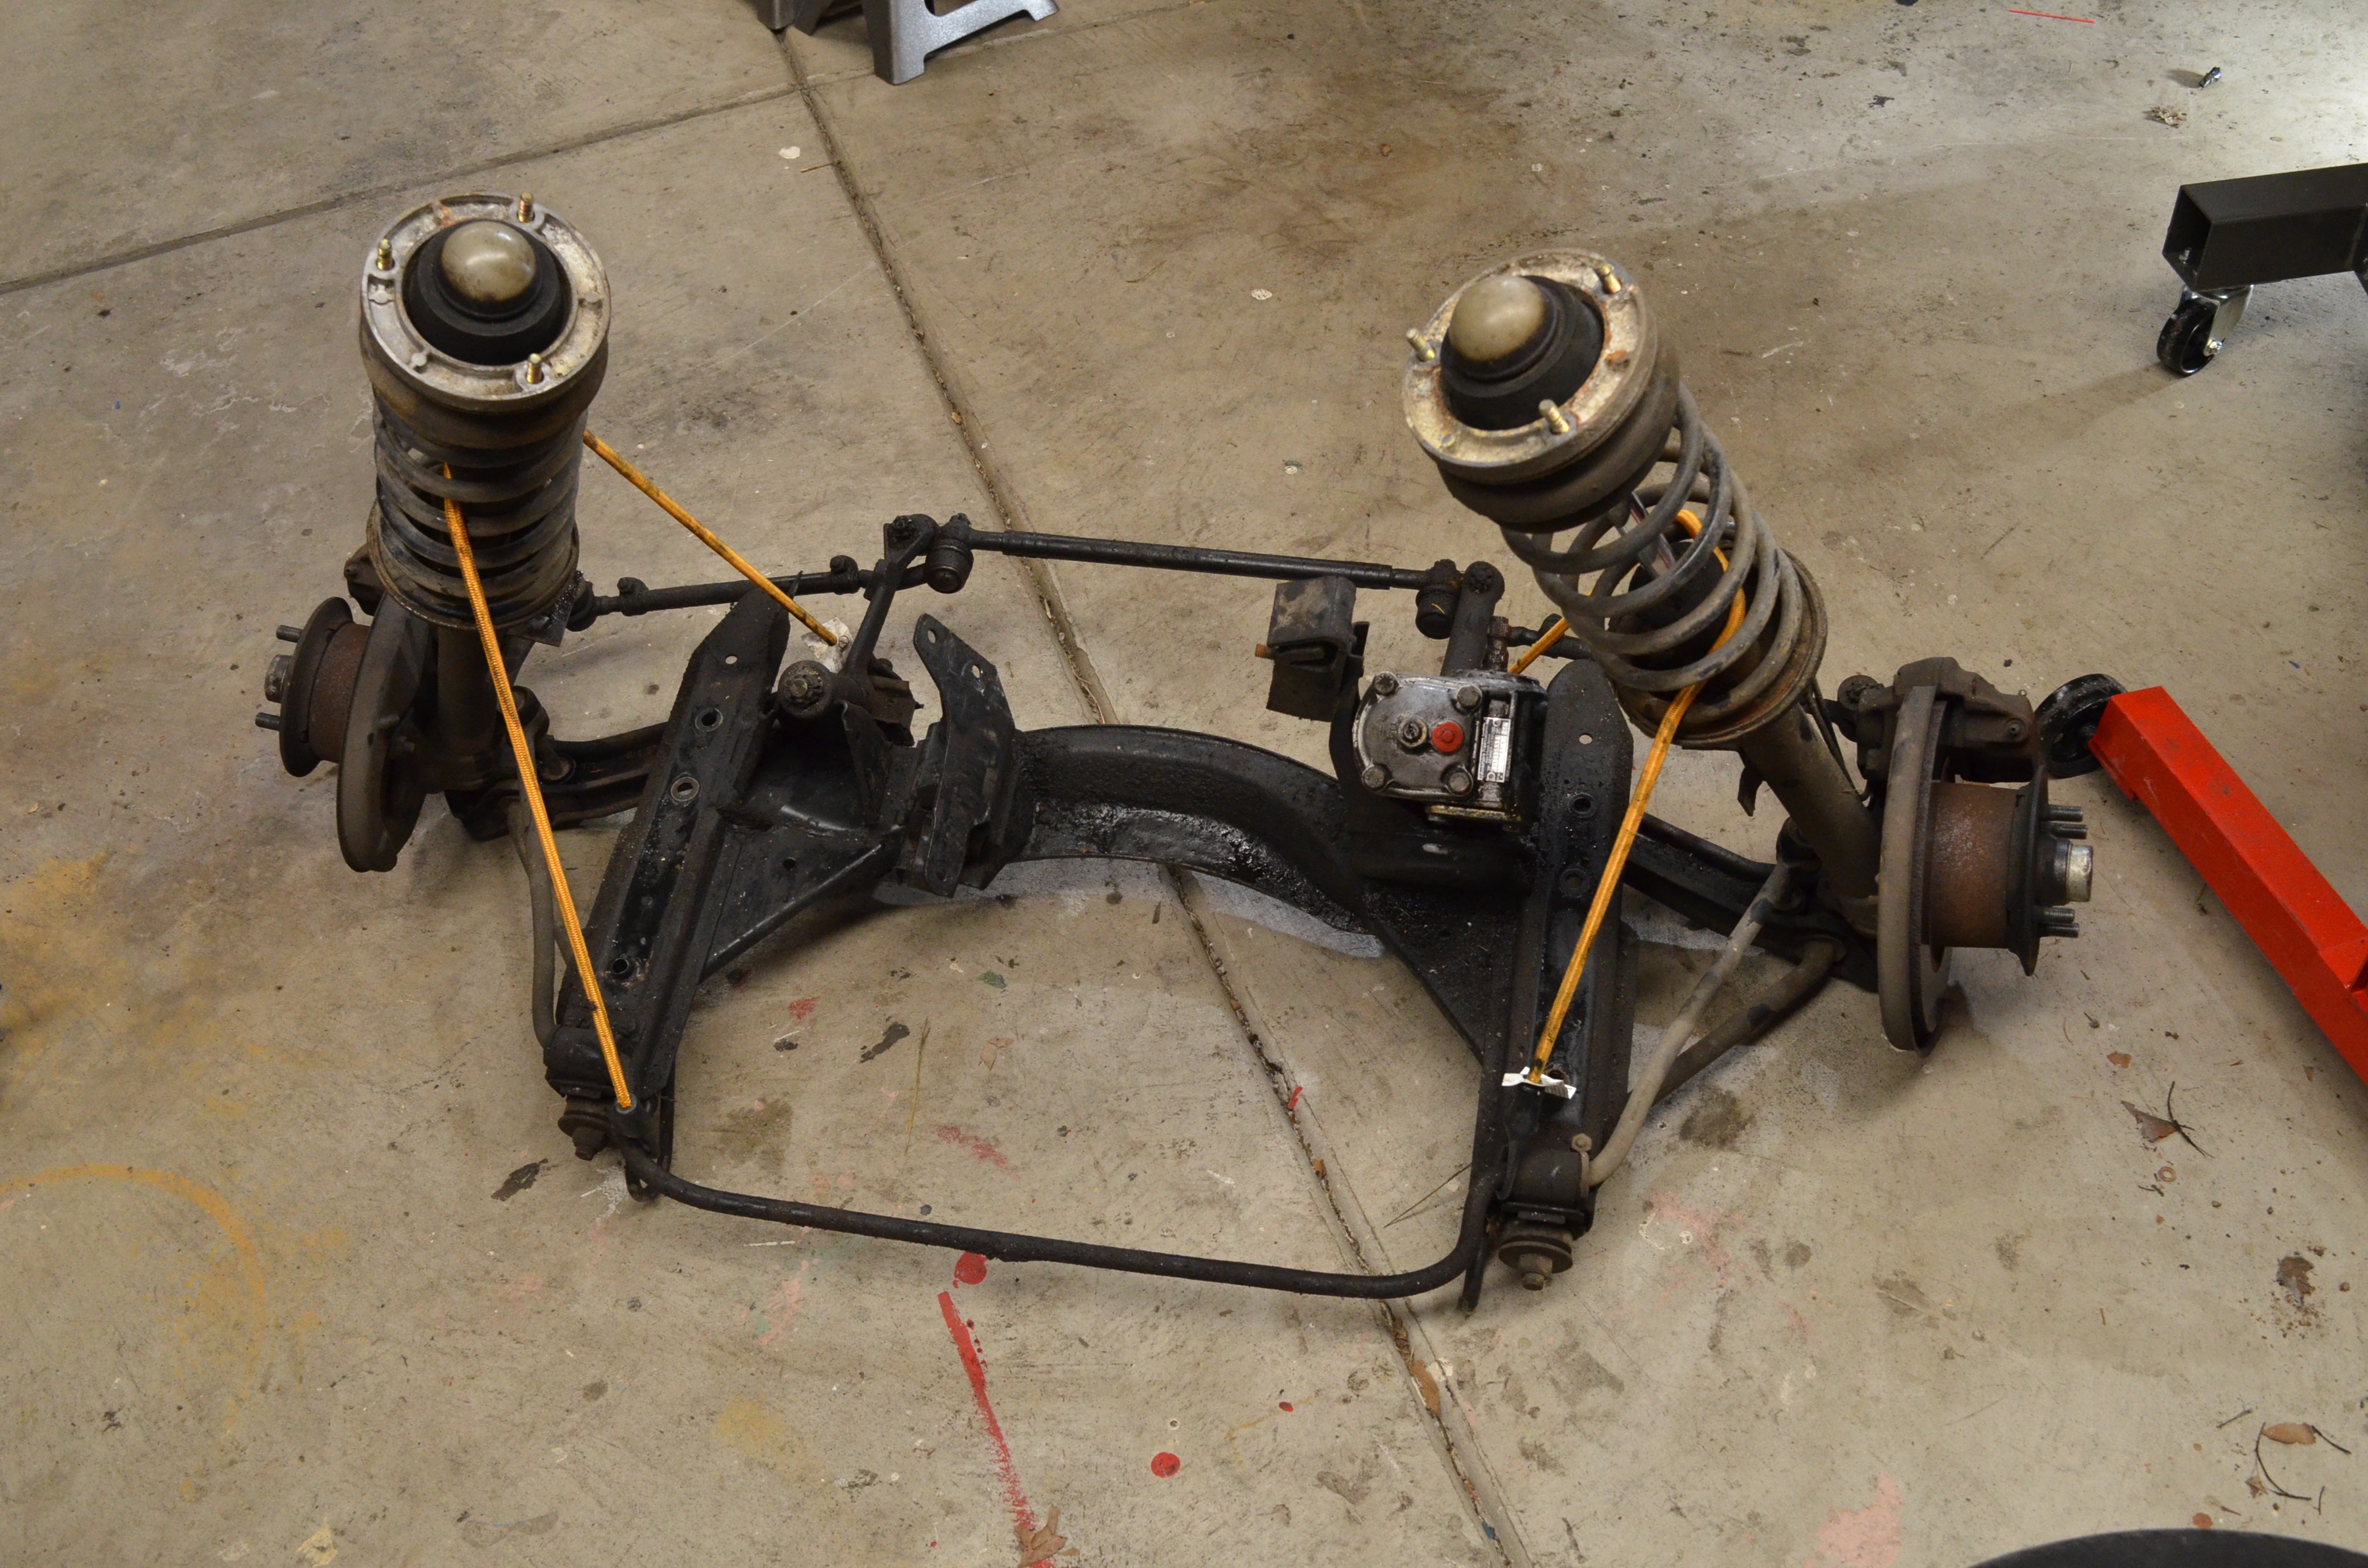
Surprise! It's done! Leave the bungee cords attached so that the assembly is easier to move without risk of a strut falling over.

All done!
I hope this was helpful.
Scott
By Hodgepodge
-
 8
8

Recommended Comments
Create an account or sign in to comment
You need to be a member in order to leave a comment
Create an account
Sign up for a new account in our community. It's easy!
Register a new accountSign in
Already have an account? Sign in here.
Sign In Now