
I wanted to change the rear drums on my 2002 to disks. There are no problems with using drums for daily use, but in a race car i wanted to have a bit more maintenance and better consistency day after day. The rules for SCCA FSP class require the car to retain the parking brake. So one of the better ways was to go to the VW Disk conversion. Ireland Engineering sells the full kit that can easily be installed by anyone. What i installed was very similar, but i used an aluminum caliper.
Ireland Engineering Kit includes:
- Custom Steel mounting bracket
- VW Golf MKII Rear Caliper carrier (1985 to 1989 Golf or Jetta)
-
VW Golf MKII Rear Caliper (1985 to 1989 Golf or Jetta)
- I used aluminum caliper from MKIV VW. (2000 to 2006 Golf, Beetle, or Jetta) Pros: aluminum, lighter weight, less corrosion, better reliability. Cons: Bleeding can only be done with caliper not mounted to the bracket since the bleeder is at the bottom after the installation.
- VW Golf MKI Front Rotor (74-84 Rabbit) (239x12mm)
- You will need to machine the edges of your hub to fit inside the new rotor or IE can do this for you.
- Several Bolts and Several Spacer Washers
To start the installation you will need to remove the Drum, Hub, and backing plate with all the brake parts attached to it.
Mount the bracket to the control arm. Try to clean it before mounting. These parts were never designed to be precise but cleaning will make them a bit better for installation something that requires some precision like a caliper.
Install the hub and tighten the castle nut properly.
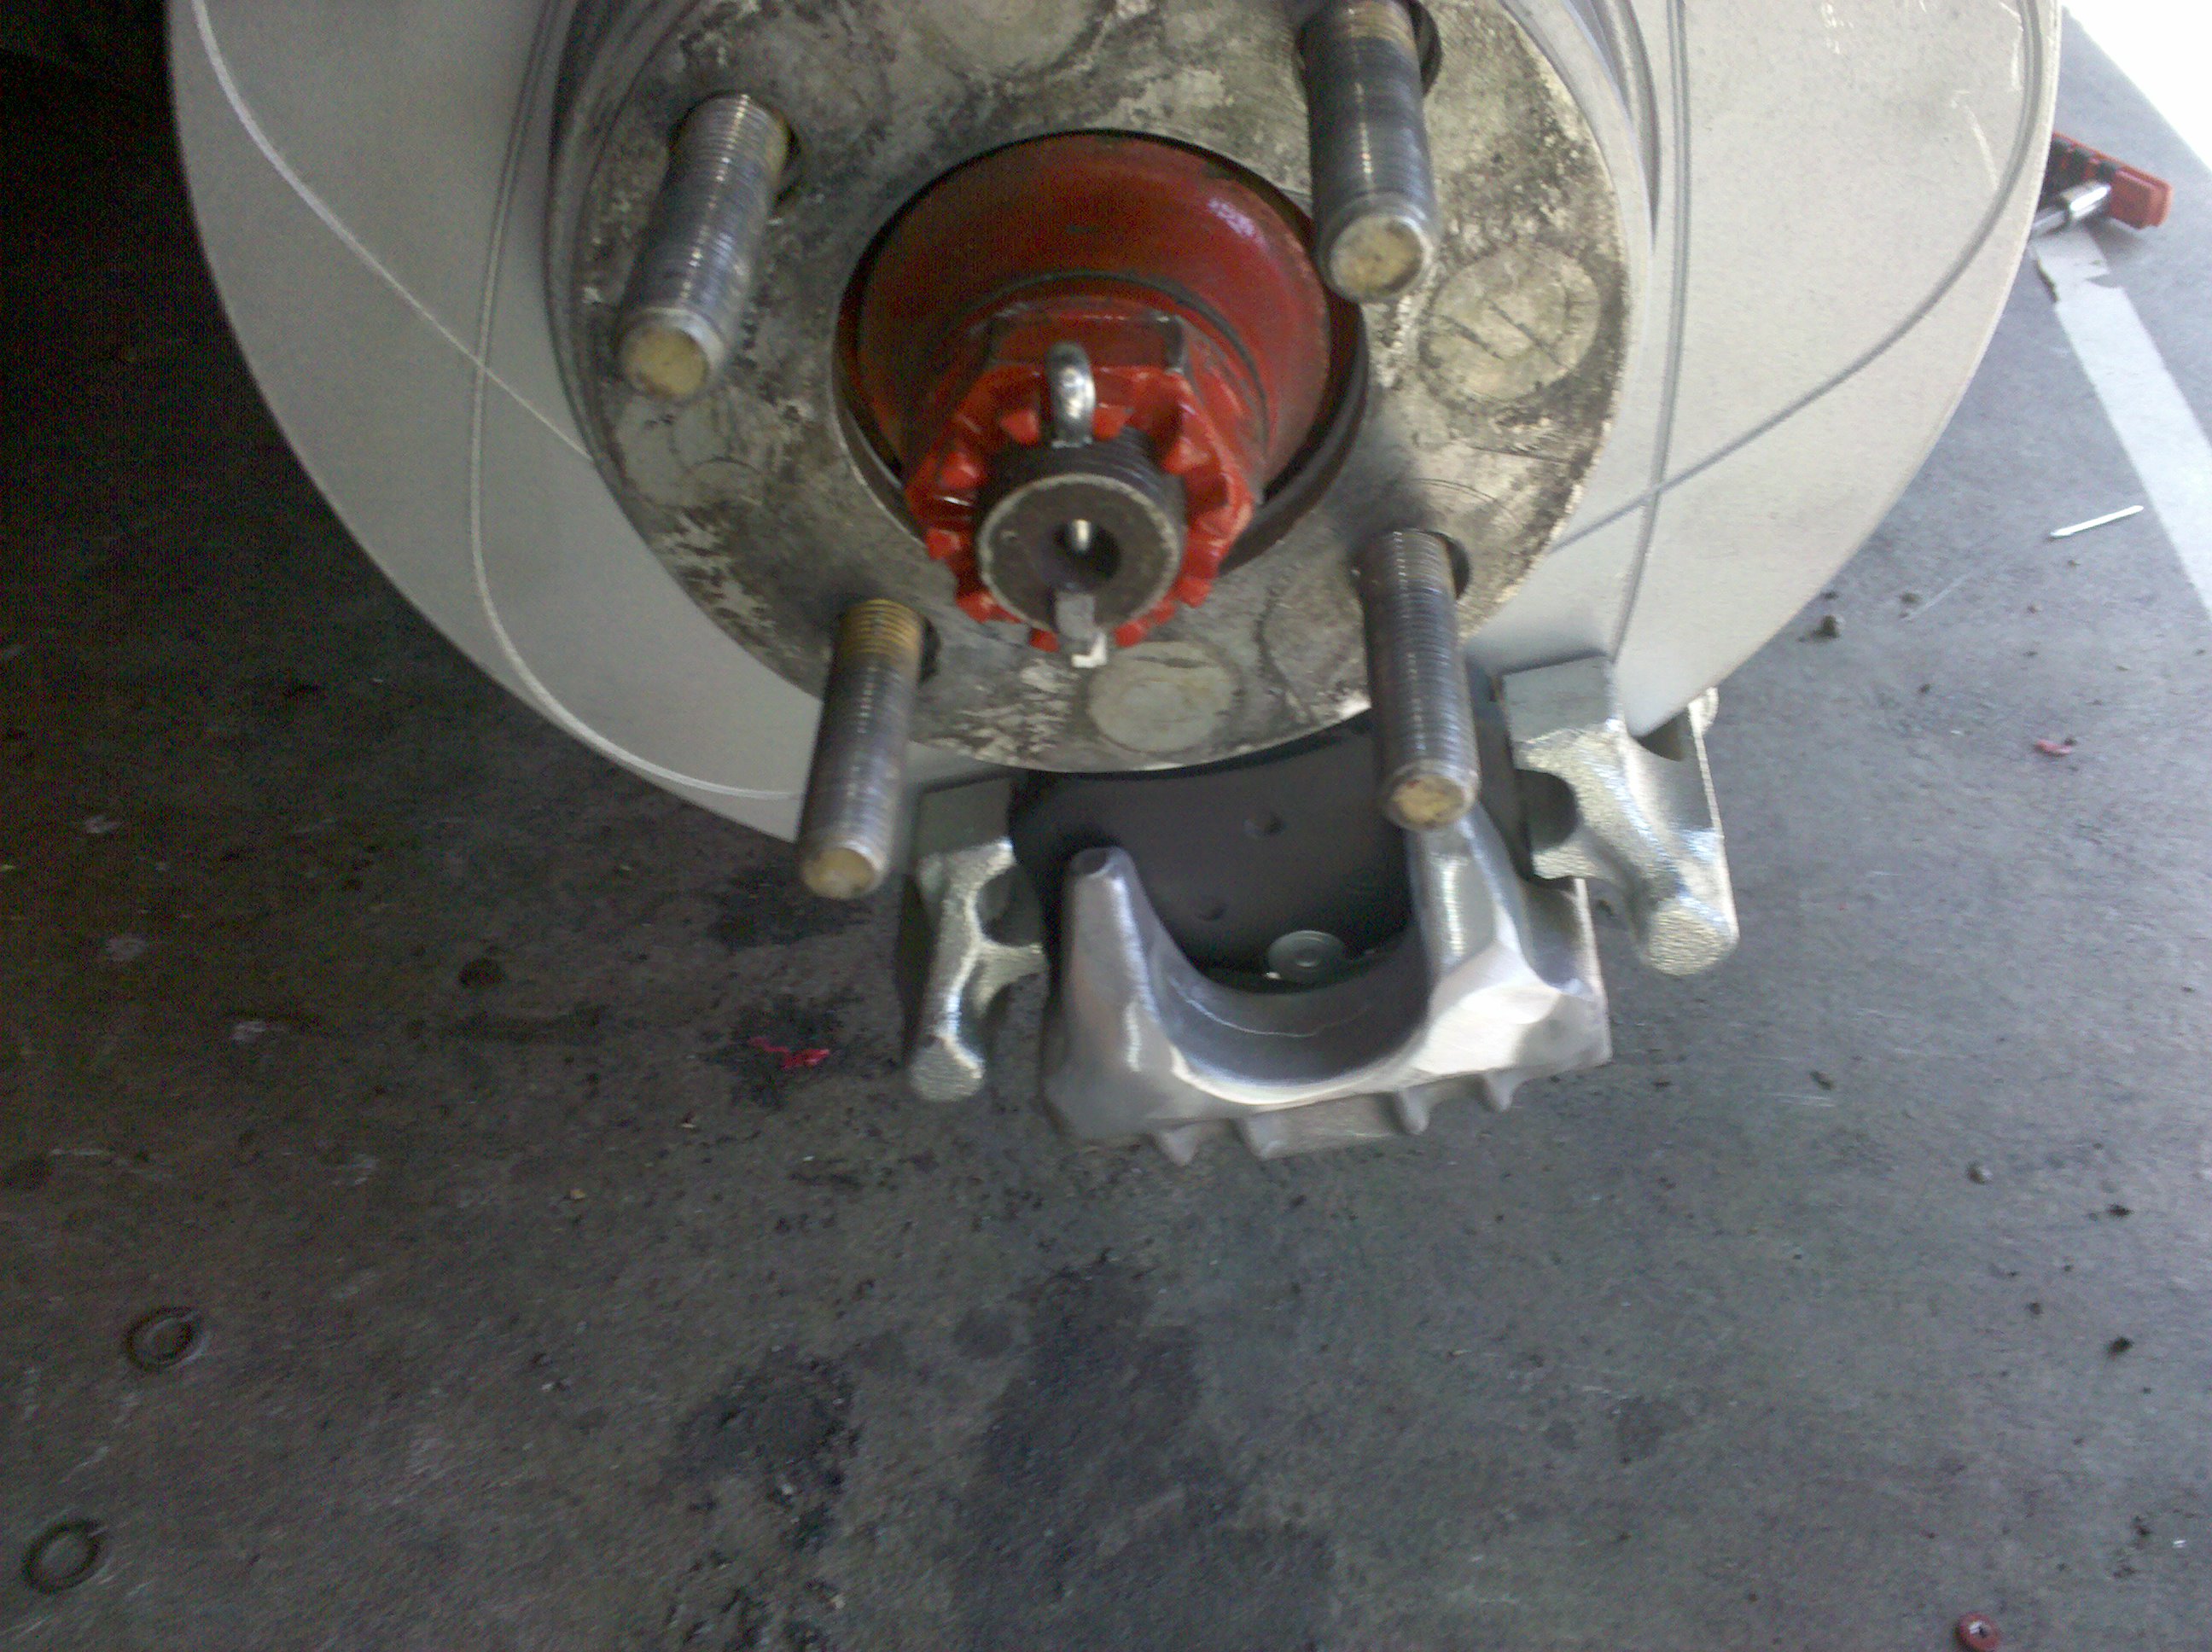
Install the rotor over the modified hub and use a couple lug nuts to tighten it to the hub. All this has to be done prior to installation of calipers since and movement afterwards might cause the disk to rub on the caliper.
Now it's time to test fit the carrier. Use the washers to get it properly aligned to the rotor. Use lock tight after you have positioning all set
Now it is time to fit the caliper and the brake pads. These calipers are equipped with a parking brake mechanism that will require a special tool to push the piston back in place. This caliper can be loaned from your local Auto Parts Store or purchased on Amazon. It will allow you spin the piston as you apply the pressure.
At this time you might notice that the caliper protrudes about an inch away from the mounting face of the wheel. If your wheels do not have that much clearance at that spot you will most likely need to use a spacer.
Aluminum calipers have cooling fins that make that slightly larger then the cast iron calipers. You might have to shave them to get to fit them inside your wheels
Once all is in place, you will need to hook the parking brake over the mechanism of the caliper and do some adjustments on the cable side to get them to be tight
You will notice that the bleeder on the caliper is on the side. You will need to undo one of the bolt, swing the caliper and bleed it. You will not be able to use the "pump the pedal" method, but both push and pull vacuum tools work well in this situation.
steve k.
p.s. if you find any of the information incorrect or you have something to add, feel free to modify the article.
Edited by steve k.


Recommended Comments
Create an account or sign in to comment
You need to be a member in order to leave a comment
Create an account
Sign up for a new account in our community. It's easy!
Register a new accountSign in
Already have an account? Sign in here.
Sign In Now