
Back in it

Entry posted by peterman
1,558 views
It's been a while since I posted any update on the project. I've had crazy work and just no time to get in the garage. Even now, I'm writing this at an airport on a work trip. It doesn't stop. Recently though, I have found little snippets of time to get in the garage and make some good momentum building progress. I'm excited to make my way away from the driver rocker and around to the passenger side which seems in better shape. Knock on wood...
So I welded the portion of the front fender wing back in place. It went back into place pretty easily. Everything lined back up nicely. A small victory to get things going.
I ran my scope up the A pillar one more time to make sure I wasn't being too hasty by saying it was fine. Looking more closely I noticed some iffy areas of rust at the bottom, in the seam of the inner rocker, so I though better of my original claim and cut the bottom of the A pillar off.


I'm happy I did. Had I not, it would have been one of those things that would bugged me two years down the road. There turned out to be enough corrosion that convinced me it wasn't a waste of time or completely unnecessary. Good choice, Pete.
I moved backwards to the rear wheel arch area and began fab'ing up the missing part of the inner fender. Since I had nothing to go on, I had to constantly reference the mirror image of the area on the passenger side. This part took such a long time and is the main reason for the slow progress.
I was trying to recreate the area out of one piece of sheet metal. This did not work out too well and I ended up welding a few pieces together to get the form I wanted.


The mock up took a while with little changes here and there, but finally i was comfortable enough with the fit with the rocker and patch panel in place that I welded it on for good.


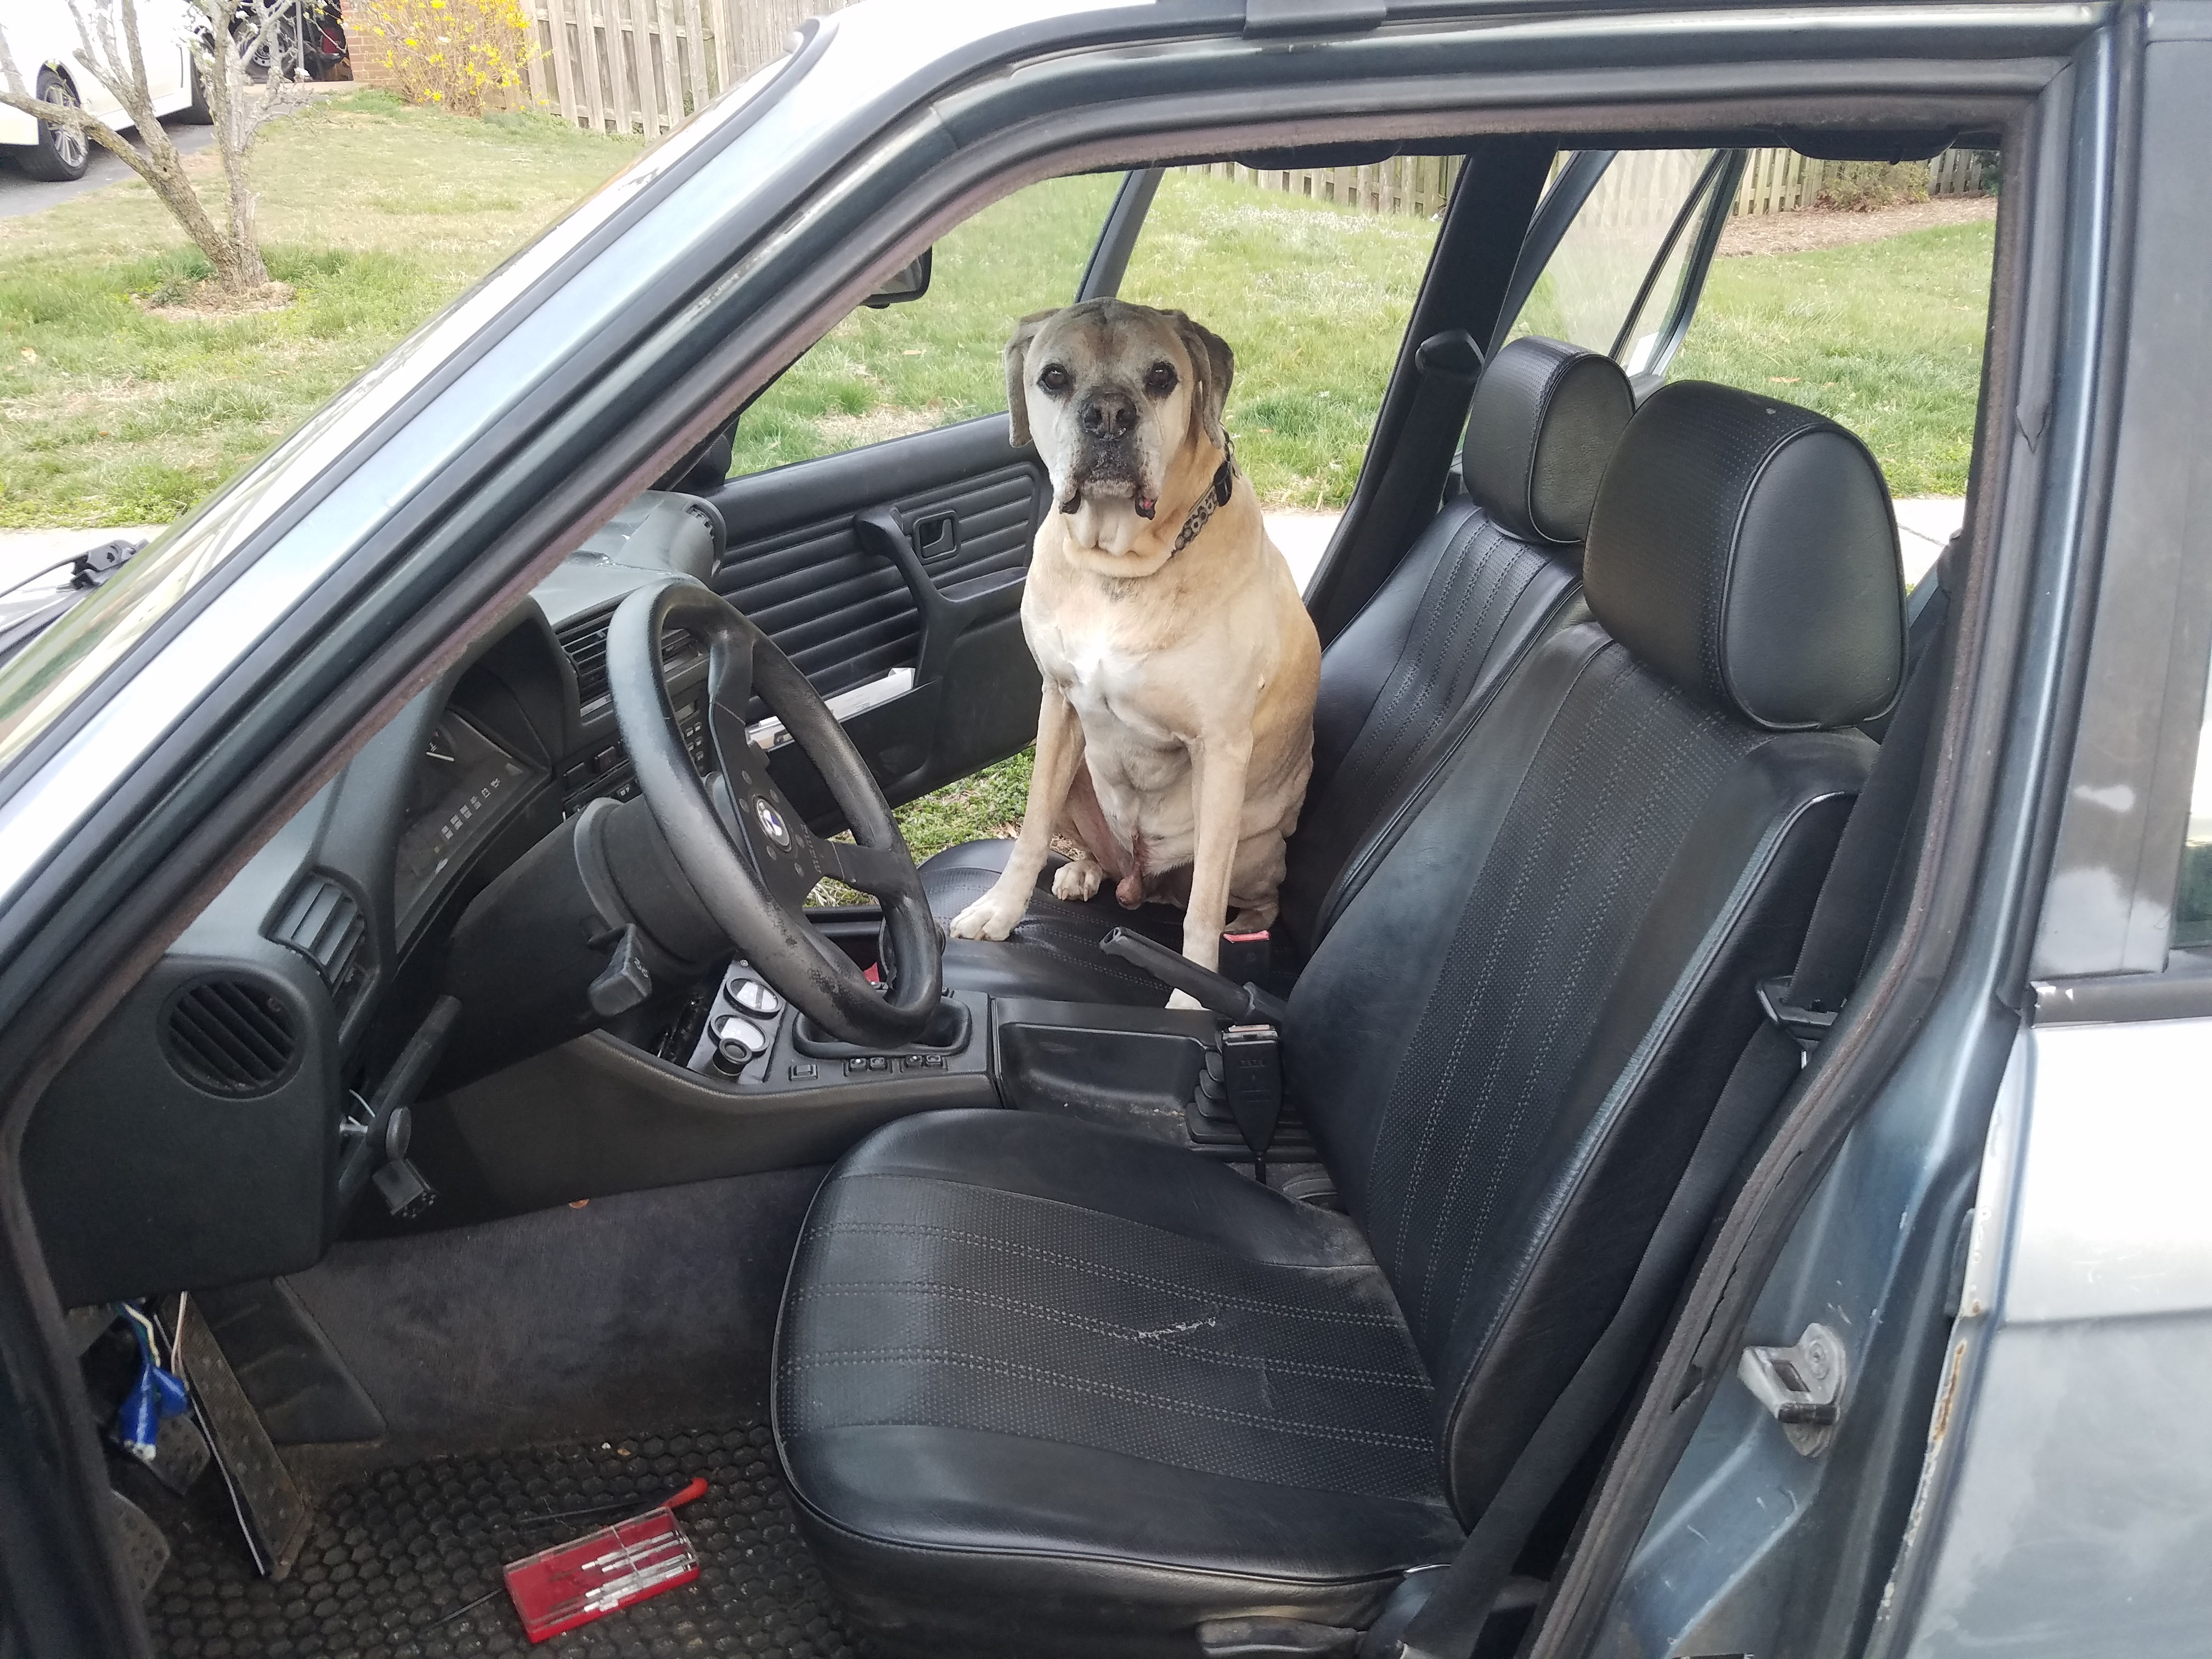
The shop manager came by to inspect. I guess a few face licks means good job?
Before my unintended hiatus from the garage work I bit the bullet and decided to go with epoxy primer. I read and read and read about POR15 versus epoxy primer- the good, bad, horror stories of both, etc. But I made up my mind and epoxy primer won. So I went down to my local Car Quest and picked up some primer and supplies. I'm using Nason 491-10 Ful-Poxy primer and activator.

Before I started painting I wire wheeled the entire area again and then prepped the metal. I used 80 grit sandpaper then moved to 180 grit just as the TDS (Technical Data Sheet) suggests. It didn't take too long and I was excited to finally be in the final step before welding the rocker back into place.

Quick Digression - Here's what I learned about epoxy primer:
It's nasty stuff. It requires some pretty robust safety equipment. I wore safety glasses, a mask that was not anywhere close to up to the task, and had a box fan at my rear ¾'s blowing across me at all times. Do not do what I did. If you're going to drop the 200 bucks on paint drop another 100 or so on a proper respirator. I will be purchasing the correct mask before I do any further painting. The experience was a little unsettling.
Anyway, it comes in two parts: a primer and an activator. The primer needs to be stirred because it separates in the can. When I first opened the can I was foolish and was standing over it. Just like slicing onions, I should have had this out in front of me. Almost immediately I had a slight burning sensation in my eyes. I moved away and though "This s**t is bad news" turns out I was right. At 57% VOC's by weight, there's not much you can buy that is worse. I had the can on top of my rolling workbench at the entrance of my garage. I had the box fan on the adjacent workbench blowing the vapors to the outside. I crouched down in front of the fan so that my face was even height with the can and the fan blowing across the top of my head. I tried to keep out of the vapors as much as possible. It took awhile to stir it smooth but eventually I was able to get it back into a homogenous mixture.
Regress - I read the TDS a few times to make sure I didn't miss anything. It turns out you can apply another coat at just about point in the cure. The stuff has a pot life for 12 hours so I was able to be patient and take my time. It mixes with the activator at a 2:1 ratio. I ended up making 6 oz. of primer, which was plenty for two coats of the driver side. I was left with about 2 ounces. The pressure on my tank was set to 35 psi, and after cleaning and prepping the spray gun, I began to paint. It went on easy and really smoothly. I worked back to front hand had my fan by my side at all time blowing the paint away from me. I waited about ½ hour to 45 minutes before I laid down another coat.
I also cleaned, scuffed and applied primer to the lower part of the A pillar I cut away while I had the paint mixed up.
All in all, I am pretty pleased with the results.


This weekend I'll cleaning the welding areas and laying down some weld through primer next in preparation for reassembly. I plan on welding the A pillar and the rocker panel back in place as well. The W&N patch panel will wait a little while before it gets welded into place. I'm not that confident in my welding yet for that visible seam. Once the rocker panel is back on, it's over to the passenger side.
I should note that now that things are moving along again, security has been stepped up. The Weber's are not for sale.

Stay tuned!
2 Comments
Recommended Comments
Create an account or sign in to comment
You need to be a member in order to leave a comment
Create an account
Sign up for a new account in our community. It's easy!
Register a new accountSign in
Already have an account? Sign in here.
Sign In Now